Practice operations
5 min read
Share:
Rolling out intraoral scanning is not a “buy device, go digital” moment. It is a workflow change, and the failure modes are usually boring: unclear responsibility, inconsistent technique, and labs getting files that look fine until they don’t.
If you want scanning to actually reduce friction (not just move it around), treat the first 30 days like a protocol build. Here are the seven mistakes I see most often, plus the fixes that get teams stable fast.
1) Treating scanning as a single skill instead of a set of micro skills
Most clinics do one training day, then assume the team is “trained.” In reality, scanning success is a stack of micro skills: tissue management, scan path discipline, contact capture, margin strategy, bite capture, and knowing when to stop and patch vs restart. If you do not separate those skills, you get random outcomes and everyone blames the scanner.
Fix
Define what “good” means per indication, not “a scan that looks complete.”
Train in micro blocks: one session only on margin capture and retraction strategy, another only on bite and occlusion, another on contacts and interprox.
Build a 10 case ramp: start with low risk cases (single units, no deep subgingival margins, cooperative patients) before you attempt full arch implant or complex bridges.
If you want adoption to feel easy, do not start with your hardest patients and your hardest margins.
2) No scanning strategy, just “follow the screen until it turns green”
This is the classic early failure: assistants scan “until the software accepts it,” then the lab calls saying margins are fuzzy, contacts are blown, or the bite is noisy. A scan that visually resembles an arch is not a scan that supports manufacturing.
Fix
Create a simple scanning strategy that is the same every time:
A standard path (occlusal → lingual/palatal → buccal), with a consistent pace.
A rule for when to patch vs restart (example: patch for small voids in non critical areas; restart if you lose tracking in the prep zone or the bite is contaminated).
A “prep priority” rule: if you are scanning for a crown, the prep and adjacent contacts get extra intentional coverage before you chase the rest of the arch.
Scanning is a capture strategy, not a coloring book.
3) Underestimating moisture control and soft tissue management
Digital is ruthless about saliva, tongue, and moving soft tissue. Traditional impressions can tolerate some mess if you have good tray seating and material behavior. Scanning cannot. Most early “scanner accuracy” complaints are actually moisture control failures.
Fix
Standardize your intraoral scanning setup like you would for bonding:
Dry field is not optional. Use high volume evacuation intentionally, not passively.
Have a repeatable retraction plan for margins (cord, paste, retraction cap, whatever you prefer, but make it consistent).
Decide who owns suction and retraction during scanning. If the scanner operator is also doing retraction, you are already behind.
A simple internal rule works: if the field is not stable, do not scan. Stabilize, then scan. You will save time overall.
4) Letting the lab define quality after the fact
A lot of labs will accept “an STL” and only complain when the case fails. That creates a delayed feedback loop, and delayed feedback is the enemy of adoption. Your team needs immediate quality signals, not remakes two weeks later.
Fix
Do a short calibration with your lab(s) before you ramp volume:
Ask what they want captured for your main indications (single crowns, bridges, implant restorations, aligners/retainers).
Confirm file types and what they actually use (STL only vs STL + color PLY/OBJ; bite requirements; minimum scan extent).
Agree on what triggers a re scan request, and how fast they will respond.
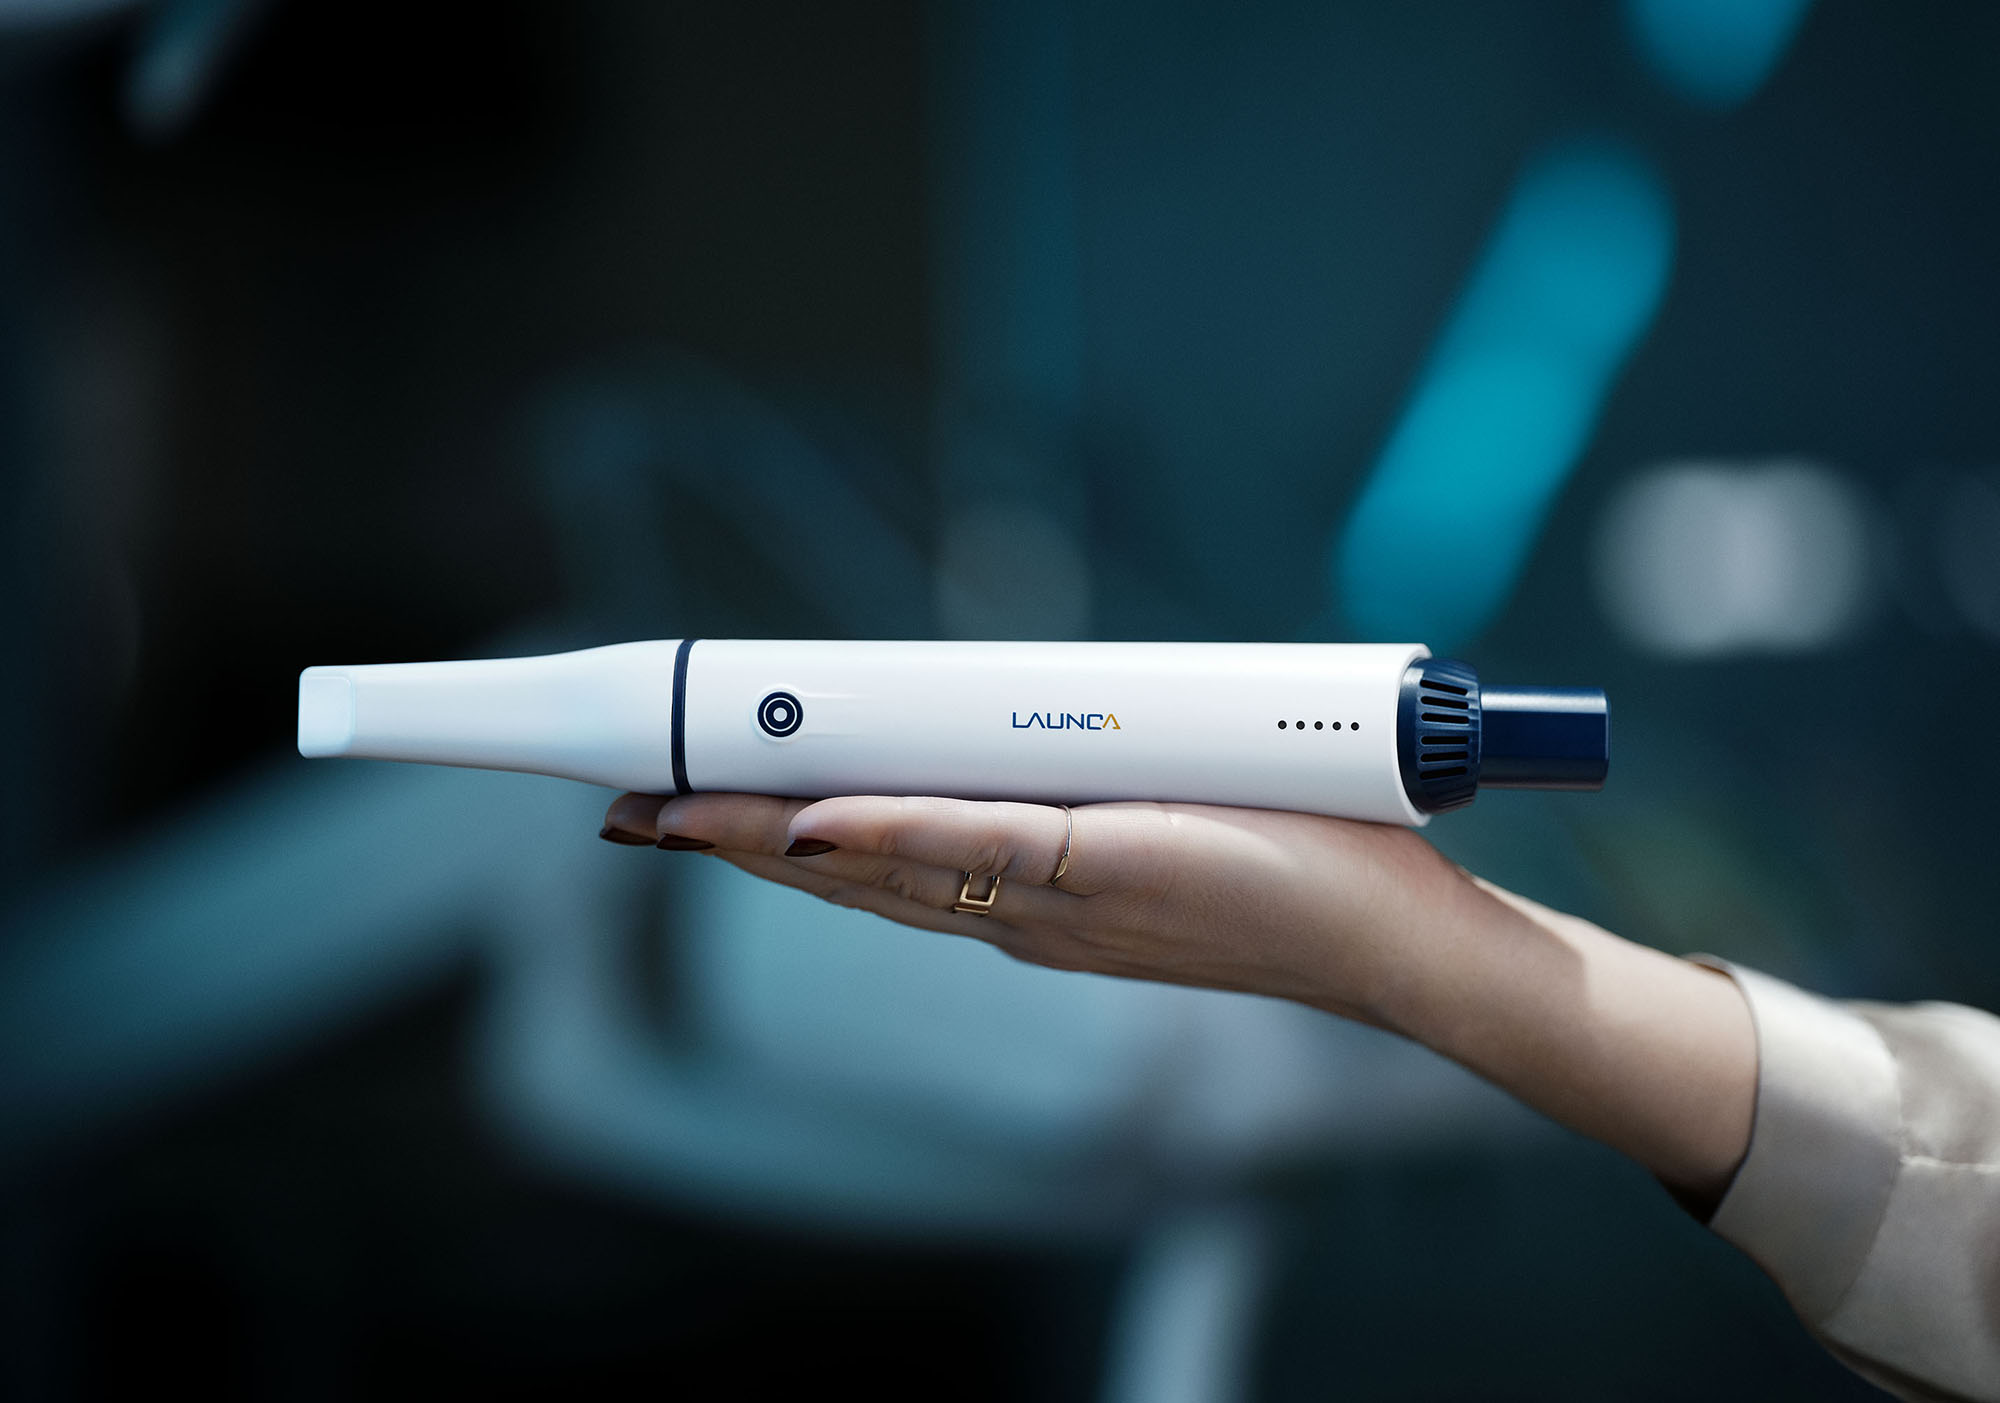
If you are reselling or standardizing around a platform like Launca DL 300 Wireless, the goal is repeatability: consistent capture in clinic plus consistent expectations at the lab. That is the combo that reduces remakes.
5) Skipping SOPs because “it’s just scanning”
The reason scanning feels chaotic in some clinics is not the scanning. It is that nobody wrote down the boring stuff: who cleans tips, how tips are tracked, how files are named, and where cases live. So every team member improvises, and the system becomes fragile.
Fix
Write three one page SOPs and keep them visible:
Start of day: device check, battery/connection check, calibration if required, tip inventory.
Between patients: tip handling, disinfection, storage, who is responsible.
Case handling: patient naming convention, how you label arches and bites, where exports go, how you send to the lab.
SOPs do not need to be long. They just need to remove decision making under pressure.
6) Expecting speed before consistency
A new scanner rollout often starts with a promise: “This will save time.” Then the first week is slower, people get frustrated, and scanning becomes “that thing we only do when we have time.”
Speed is a byproduct of consistency. If you push speed first, you get fast bad scans, which produce remakes, which makes everyone slower.
Fix
For the first month, optimize for quality and repeatability:
Give the team permission to slow down on the first scan of the day.
Track redo rate. Your goal is not “minutes per scan.” Your goal is “first pass acceptance.”
Build a short checklist the operator must complete before export: margins visible, contacts captured, bite stable, missing data patched, scan extent adequate.
Once your redo rate drops, speed shows up on its own.
7) Not planning for exceptions and edge cases
Your best scans will happen on ideal patients. Your pain will come from the real world: saliva heavy patients, limited opening, shiny restorations, deep margins, mobile tissue, full arch cases, implant scan bodies, and bites that do not settle.
If you do not plan for edge cases, the team will label scanning “unreliable,” even though the issue is that your protocol does not include a recovery plan.
Fix
Create an “exceptions playbook” with a few common scenarios and the preferred response:
Limited opening: break the scan into smaller segments and maintain tracking with stable landmarks.
Deep margins: prioritize retraction and margin zone capture before you scan the rest.
Implant scan bodies: define a strict capture approach (dry field, stable soft tissue, sufficient scan body exposure, and correct bite protocol).
Unstable bite: do multiple bite captures with checks, or adjust your protocol to reduce occlusal noise.
This is where a mature team stands out. They do not avoid hard cases. They have a plan for them.
What a clean rollout looks like in practice
If you want a simple target: within 2 to 4 weeks, your team should be able to produce consistent, lab accepted scans for your top indications with minimal rescans and minimal dentist intervention.
That outcome does not come from more “features.” It comes from:
A defined scanning strategy
A clean, repeatable setup
Lab alignment
Lightweight SOPs
A quality first ramp
Do that, and scanning becomes boring in the best way. Boring means predictable. Predictable means profitable.
RECOMMENDATIONS


